I've wanted to build a boat and go sailing for quite some time. A few years ago now I saw the puddle duck and thought that would be a great boat for getting started with. I bought the oz version plans from Michael Storer, which are very great and informative. Unfortunately fate conspired against me and I was never quite able to make it real.
Later on I came across 'Building Outrigger Sailing Canoes' by Gary Dierking. The whole outrigger / proa thing really appealed to me and I immediately become obsessed with building one. His wa'apa design in particular seemed perfect for me. It is fairly simple to build, and is built in 8 foot sections so I could build and keep it in a small space. However, once again things have kept me from doing anything more than thinking and planning.
Finally I've decided to stop waiting for the right time (is there such a thing?), and just make it happen. So here starts the chronicle of building a 16 foot version of the wa'apa, in a less than ideal space (5x11 patio), keeping costs low as possible, and using what I can find decent locally.
I managed to find some decent 1/4 inch plywood at a nearby home depot. It has five plies, no real voids to speak of, and it survived several days in water and thirty minutes of boiling. Unfortunately they don't have any full size sheets of this stuff currently...but I was able to grab a few off cuts large enough to get the bulkheads out of with leftovers.
 |
| Bulkhead panels cut out. |
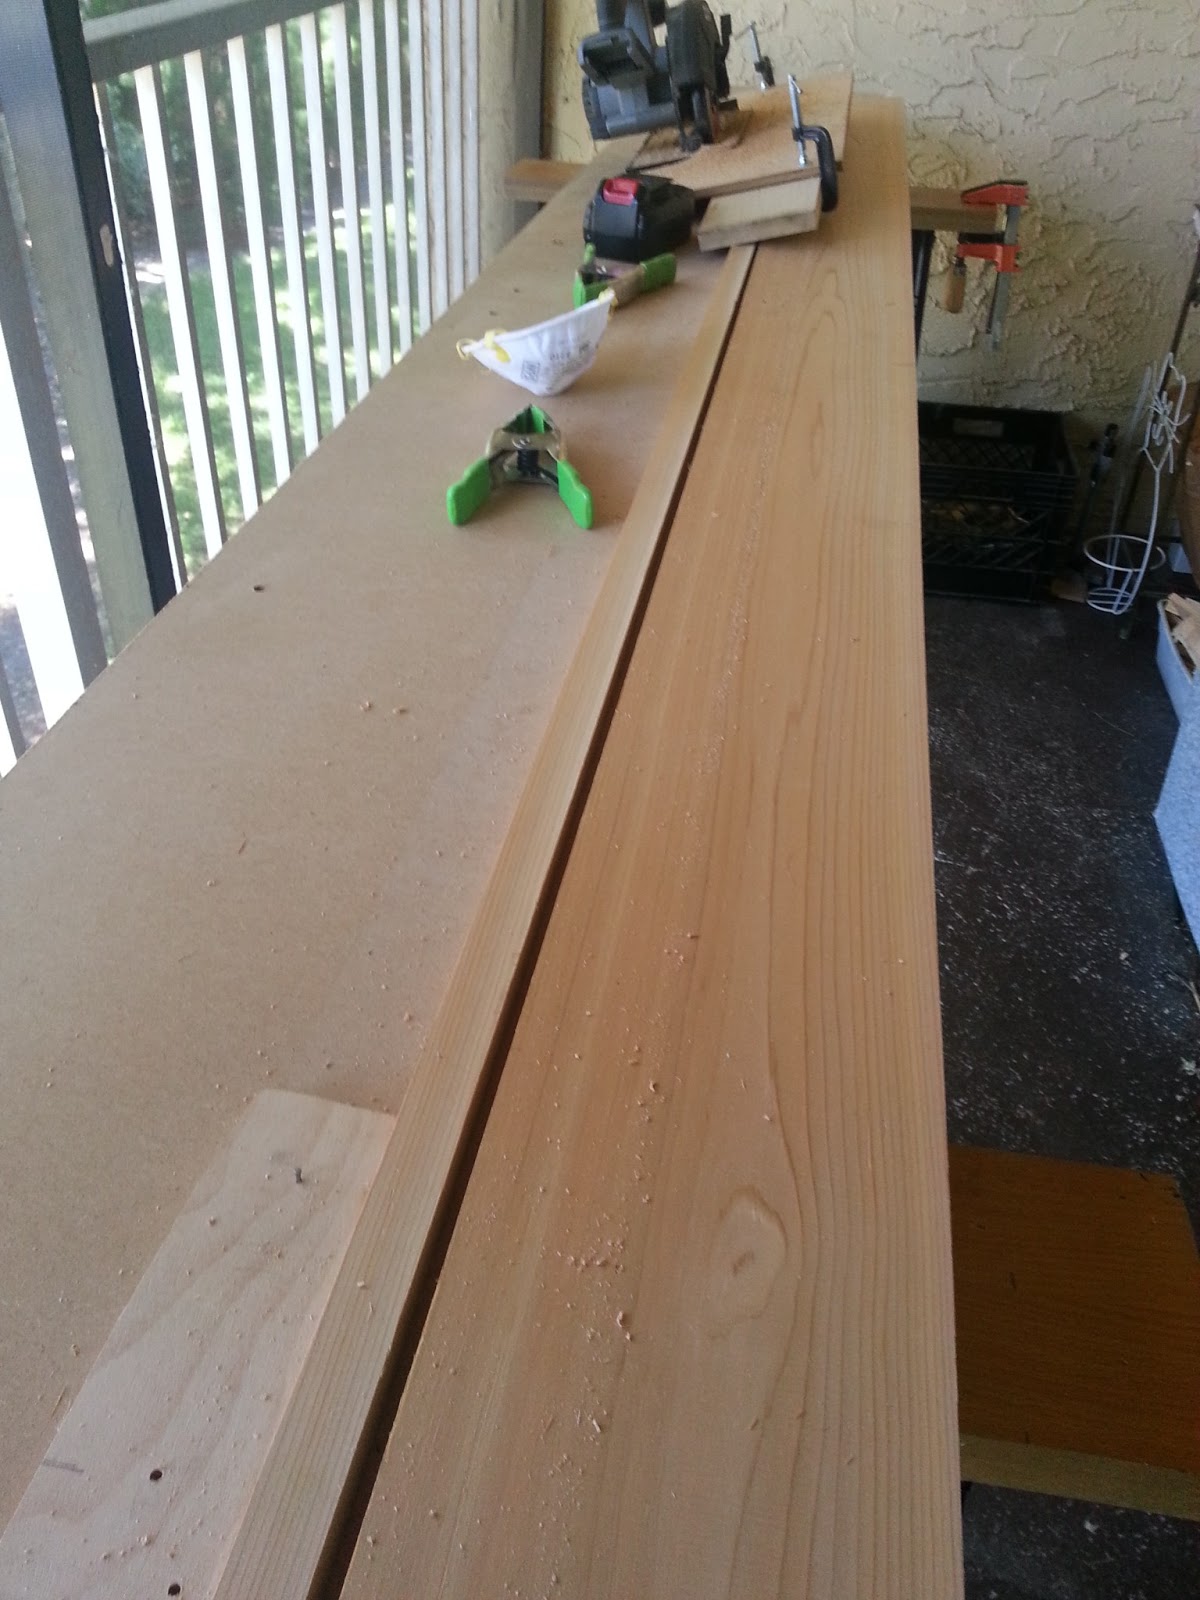
Next I needed to rip some pieces of timber for the bulkhead perimeters, chines, etc. I don't have a table saw, nor the space to run timber through one anyway. Instead I made this simple ripping sled for my circular saw.
 |
| Using a couple pieces of half inch scrap to position fence for a 1 inch cu |
 |
| Some bits of scrap our tacked to the bench to hold the board in place while cutting. |
 |
| Strips placed left of board after each cut to push it over for the next one. |
 |
| In short order the chines and enough stock for bulkhead perimeters was all cut. |
Next up was cutting, fitting, and gluing on the bulkhead perimeters.
 |
| Perimeters all cut and fitted roughly ready for gluing. |
 |
| Two coats of epoxy were applied to the bulkheads, wet on wet. |
 |
| Then the goo is spread and everything clamped up. The other two bulkheads were coated on the outside faces, they'll get flipped, coated, and perimeters glued separately..not enough clamps to do them all at once. |
 |
| All bulkheads coated, perimeters glued, and trimmed for final fit. |
The stem pieces I had cut earlier. The stems are slightly concave and need to be beveled 10 degrees. This probably would have been quick and easy with a jig saw set to a 10 degree cut...but I had to do it the hard way. They were marked then cut with my japanese pull saw, and then carefully planed and sanded to the line. Next was to do the beveling, which was done carefully with a block plane.
 |
| Edge marked with pencil to help as a guide. |
 |
| I marked and cut a piece of scrap ply with a 10 degree angle to use as a gauge. |
 |
| First the straight bit at the top was done. |
 |
Then carefully working down the edge, checking carefully every couple passes.
|
 |
| The concave edge means having to hold the plane a little sideways and using just the nose..but was all done fairly quickly and it turned out good. |
That's all for now, about 5 or 6 days of work to this point. Not much left to do on these bits except cutting notches for the chines and maybe some sanding & epoxy coating on the timber. Mostly need to find some decent full sheets of ply and see if I can get it 3d soon!


No comments:
Post a Comment